
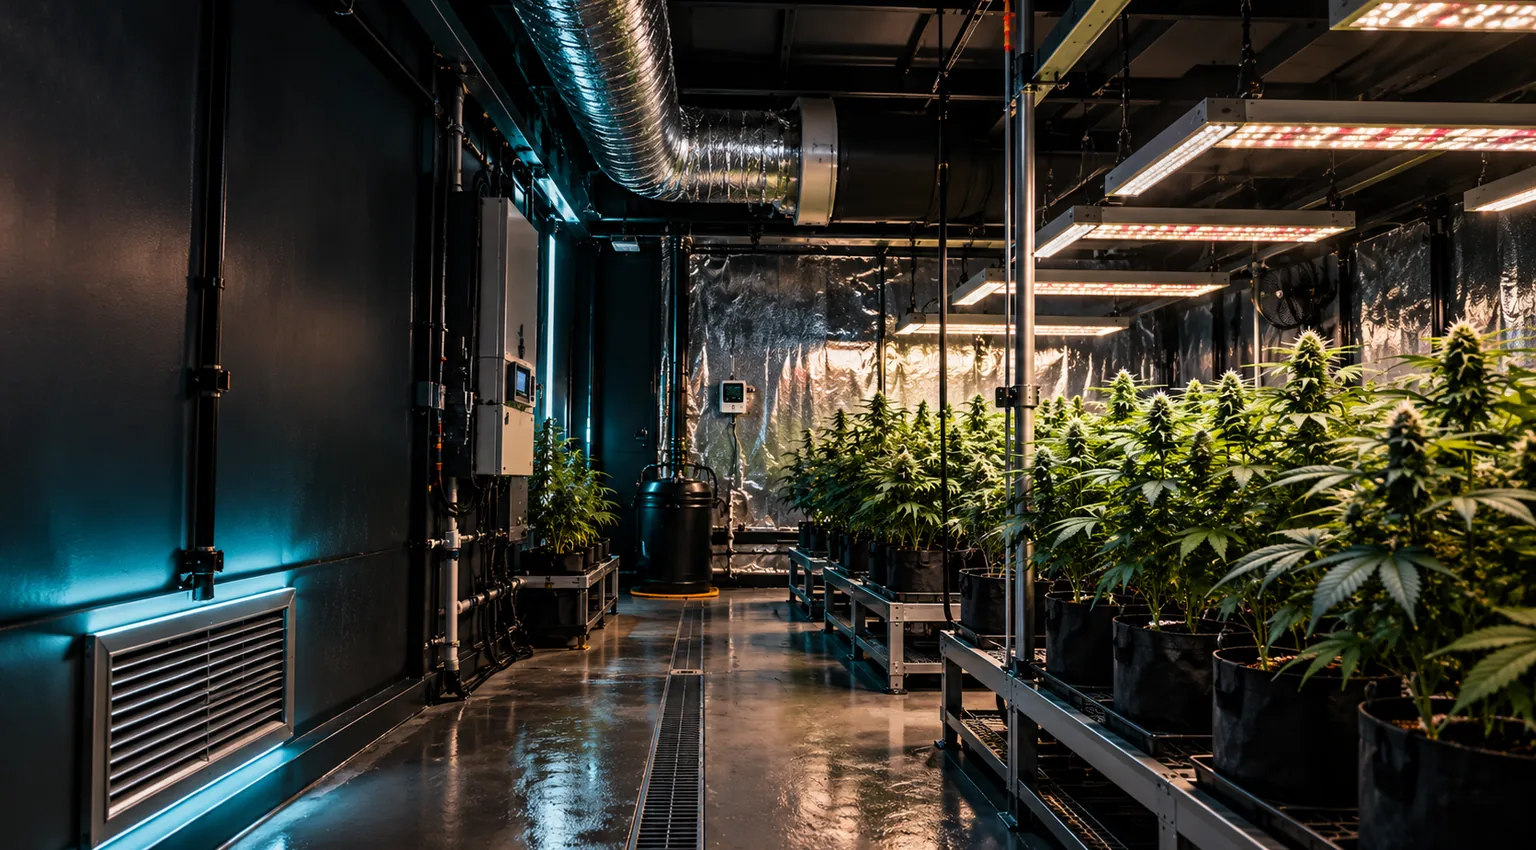
Design the room around the work.
A functional grow room starts with safe power, dependable ventilation, manageable water and enough clearance to inspect every plant. Choose the footprint and service paths before deciding where fixtures and containers go.
Reserve room to move before you fill it with plants.
Start with the inside measurements of the space, not the advertised tent size or an assumed plant count. Include the reach needed to check leaves, lift pots, clean up spills and reach electrical disconnects. Doors must open fully without hitting equipment. Plan an accessible route to every plant and to all equipment that needs regular service.
Example only. Size the actual aisle and equipment clearances around the building, door swing, electrical requirements and access needs.
Give air a clear way in, through and out.
Plan fresh-air supply, exhaust and odor filtration as a system. An exhaust fan cannot deliver its advertised free-air CFM through unlimited duct bends, carbon filters and restricted intake. Use the fan curve at the expected static pressure, and verify conditions after the entire setup is running.
A protected supply opening, ideally positioned away from exhaust discharge and outdoor contaminants.
Gentle air movement through the canopy, without a direct harsh blast that dries or damages leaves.
A high outlet with appropriately sized ducting and, where needed, a compatible carbon filter.
Heat from grow lights, dehumidifiers and pumps adds up. Moisture from plants and irrigation must also be removed or controlled. Measure canopy temperature and relative humidity with sensors in representative locations, not only near the room entrance.
Design electrical capacity around the actual loads.
List every device and its nameplate input: grow lights, ventilation, heating or cooling, pumps and control equipment. Include loads that may run together. A specific subpanel size is not a universal recommendation. A licensed electrician should determine branch circuits, conductor sizes, protection, permits and any required service upgrade under applicable electrical codes.
- Use properly installed, protected outlets and keep plugs, power strips and controllers away from irrigation splash zones.
- Provide GFCI protection where required; mount electrical equipment where it remains dry and accessible.
- Route water lines and drainage so a leak does not reach lighting controls or equipment below.
- Use waterproof or water-tolerant flooring as appropriate; keep standing water out of walking routes.
Match coverage to the canopy—not a fixed hanging distance.
Choose fixtures from useful light distribution over the growing area, not from a marketed watt-equivalent or a blanket rule that lights should nearly touch plants. Follow fixture clearances, driver limits and the manufacturer's guidance. Check PPFD across the canopy where practical and adjust height or dimming as needed.
Secure fixtures to rated structural points with proper hangers and secondary safety support. Keep enough overhead clearance for plant growth, raising lights, ventilation ducting and safe service access. See grow-light troubleshooting for hot spots and uneven coverage.
Commission the room before you stock it.
Clear and prepare surfaces
Remove carpet, clutter and moisture-damaged materials. Use cleanable, moisture-resistant finishes appropriate to the building; reflective walls can improve distribution but cannot replace measured lighting.
Mount hardware and route services
Install light mounts, ducts, fans, filtration and any approved plumbing or electrical work. Leave enough access to remove filters and maintain fans.
Run a full-load trial
Operate lights and environmental controls together. Observe heat, humidity, condensation, airflow, electrical loading and drainage over an entire operating period.
Set a cleaning and inspection routine
Check for leaks, dust, pests, filter restriction and damaged wiring. Use cleaners and pest-control products only for their labeled applications. No pesticide is universally best for every pest or room.
Plan around the equipment footprint.
Complete the room setup
Browse strain profiles 72 profiles
Explore plant characteristics and growth information. A strain name alone does not determine the space, equipment or conditions a particular plant needs.