
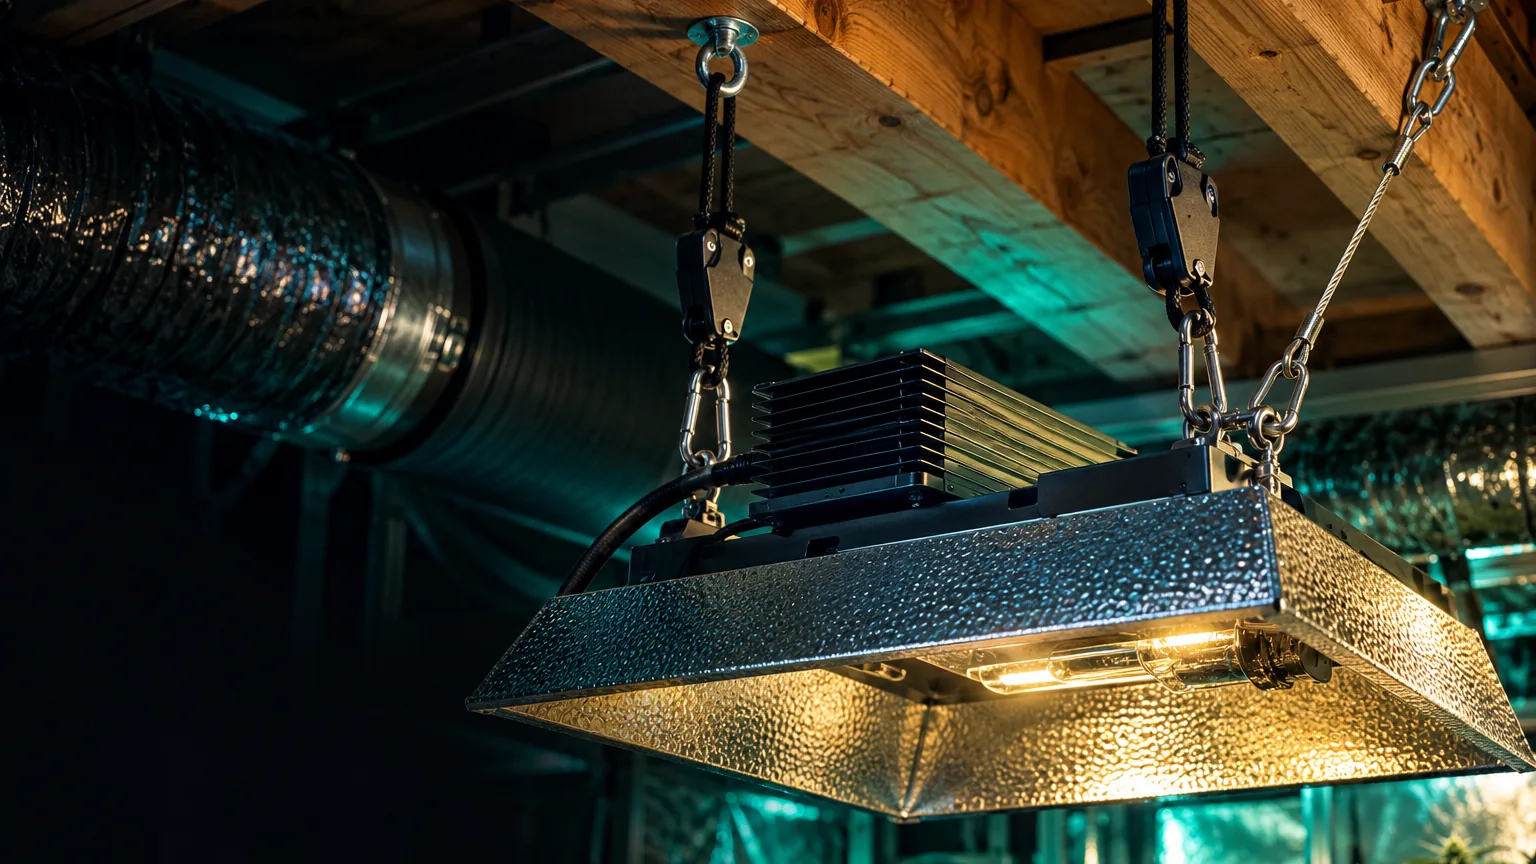
GROW ROOM HARDWARE / SUSPENSION SYSTEMS
The safest light is the one that stays where you put it.
A hanging system is more than a pair of clips. The fixture, adjustment hardware, ceiling connection and backup restraint form one load path. Choose each part for the actual fixture and installation, then adjust the light according to its manufacturer’s clearance and intensity guidance.
Three ways to support a grow light.
Pick the hardware for the fixture’s weight, approved attachment points, adjustment frequency and the conditions in your growing space. An impressive advertised number on one product does not rate your ceiling anchor or the entire assembly.
Rope-ratchet hangers
Convenient for routine height changes. Use paired hangers where the fixture manufacturer requires two points; check each ratchet, rope, clip and attachment separately. Keep the load balanced and confirm the lock engages before releasing the fixture.
Best for: adjustable fixtures with approved hanging points.Rated chain and hooks
A suitable option for a fixed suspension height when all hooks, links and connectors are rated and fully closed or secured. Bare open S-hooks and unknown decorative chain are poor choices for overhead equipment.
Best for: less frequent height changes.Manufacturer suspension kits
Use the supplied cables, brackets or frame where required. Some large LED bars and enclosed HID reflectors have specific mounting positions or orientation limits; the fixture instructions take precedence over a generic hanger kit.
Best for: fixtures with proprietary mounts.Don’t add capacity claims together casually. A pair marked “150 lb” may mean a documented pair rating, not a guarantee that any two hangers safely support that load in your installation. Angled lines and uneven loading change the forces. Respect the lowest applicable working-load limit and the manufacturer’s installation conditions.
Choose the anchor before choosing the rope.
Wood framing
Locate the actual structural joist or other approved framing. Choose fasteners sized and installed for the material and required load; do not assume screws in paneling or drywall have a suitable overhead rating.
Concrete and masonry
Use fasteners specifically approved for overhead loads and that substrate, observing embedment, edge distance and installation specifications. A professional should evaluate unknown or deteriorated masonry.
Tent poles and lightweight frames
Follow the tent manufacturer’s rated hanging points and total supported load. A nominally sturdy frame can still be overloaded by several lights, fans and filters together.
Suspended ceilings and unknown surfaces
Do not attach a grow light to acoustic tiles or ordinary ceiling grid without an approved engineered support solution. Consult a qualified installer where structure or local code requirements are unclear.
Keep electrical cords out of the load path. Never hang a fixture by its power cable, ductwork or unverified plumbing. Disconnect power before fitting or adjusting a heavy light. An independent, properly anchored and rated secondary safety restraint can limit a fall if the primary suspension fails; follow the fixture manufacturer’s requirements.
Trace the load from ceiling to fixture.
The drawing separates primary support from the backup tether. It does not specify anchor types, capacities, spacing or a universal installation method.
Include the fixture, reflector, integrated driver, attached hardware and any accessories supported by the same hangers.
Check the ceiling anchor, fasteners, clips, hangers and fixture attachment points—not only the rope.
Keep clear of walls, ductwork, fans and moving parts, with power-cable strain relief and enough slack at all allowed positions.
Does a motorized light rail actually help?
A linear rail moves one compatible fixture back and forth over a larger path. That may change the spatial distribution of light and shadows, but it does not increase the lamp’s total photon output. It cannot substitute for measuring canopy PPFD, matching fixture output to growing area or keeping the light a safe distance above plants.
When it may make sense
A long, accessible installation where the manufacturer permits the fixture and moving load, the track is secured to suitable structure, and a measured light map shows a practical coverage benefit.
When fixed lights are simpler
Small tents, tightly packed spaces, low ceiling clearance, limited budget or installations where cable movement, service access and structural support add complexity without measured benefit.
For motorized systems: Read the specific drive and rail manual before installation. Straight, secure rail mounting, rated suspension parts, adequate cord slack through full travel, correct motor power and safe stop positions are essential. Some manufacturers specify qualified electrical installation. Unplug the mover before adjusting the suspended fixture. Do not attach a motor circuit directly to a lamp ballast.
A simple overhead-light inspection.
- Confirm mounting. Identify the rated structural supports; inspect all fasteners and approved fixture brackets.
- Examine hardware. Look for frayed rope, bent hooks, damaged ratchets, worn cables, loose knots and deformed links; replace defective parts.
- Test while supported. With power disconnected and the fixture independently supported, check every locking mechanism and adjustment point.
- Check the full range. Verify fixture and lens clearance, heat limits, cable slack and no collision with fans, plants or walls.
- Document the setup. Retain load ratings, manuals and an inspection date. Recheck after any equipment or height change.
What the hanging components look like.
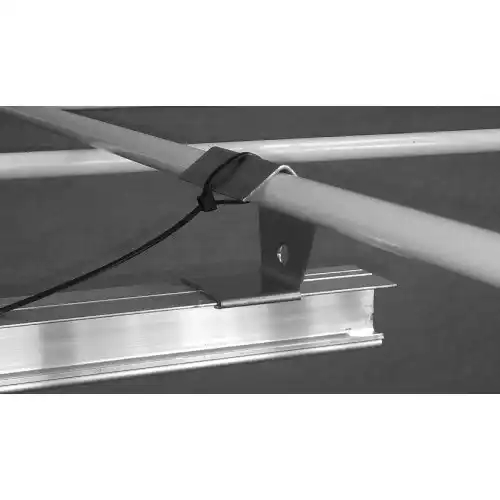
The fixture and suspension hardware must be compatible as a system. Photos and model descriptions cannot establish the load-bearing rating of your particular ceiling, anchor or installation. Compare the complete manufacturer's markings before mounting anything overhead.
Manufacturer installation references
Hydrofarm Light Riser specifications · Hydrofarm fixture mounting manual · LightRail 4.0 installation instructions. Follow your exact product manual; these examples do not certify another brand’s equipment.