
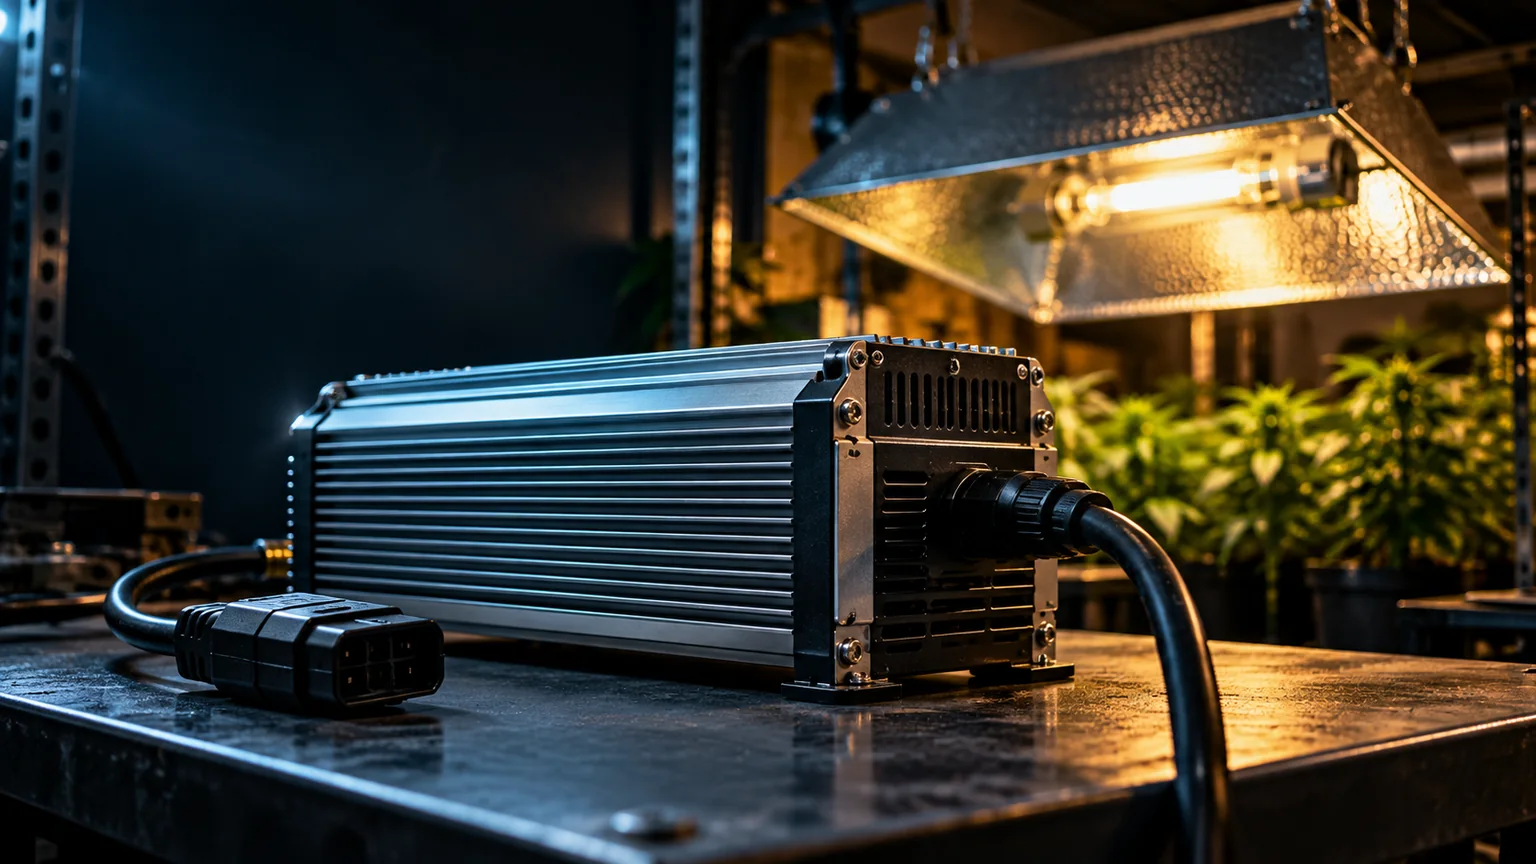
The ballast is the part you cannot guess.
Metal halide and high-pressure sodium lamps need a ballast to start and regulate the electrical discharge. A bulb that fits the socket can still be incompatible with the control gear. Match the exact lamp type, wattage, approved operating voltage, connector and fixture rating before buying or replacing anything.
Magnetic, electronic and complete fixture systems.
Magnetic ballast
Traditional core-and-coil gear can be heavy, warm and audible. A magnetic ballast is not automatically interchangeable between MH and HPS lamps; some setups require specific starting hardware.
Check lamp code, frequency, input supply and enclosureElectronic ballast
Electronic regulation can reduce weight and enable controls, but claimed dimming, “boost” modes or dual-lamp operation are valid only when the exact lamp and ballast are approved together.
Check manufacturer compatibility, not a generic watt labelIntegrated fixture
Some reflector and lamp assemblies package the ballast inside the luminaire. Service parts, cooling and clearances then depend on the fixture as a whole—not a freely swappable standalone box.
Follow the complete fixture instructionsA ceramic metal halide (CMH/CDM) lamp is not simply a standard quartz metal halide bulb. Its ignition and operating requirements can differ. Never assume a shared socket, advertised wattage or familiar appearance means ballast compatibility.
Five specifications to check before connecting a lamp.
MH, HPS and CMH may use different start and operating characteristics. Read the exact lamp code.
A 400W marking does not authorize arbitrary lower or higher-power lamps or dimmer positions.
Match the rated supply and local electrical installation; never rewire voltage taps by trial and error.
Confirm manufacturer-approved cord, lampholder, grounding and any ignition requirements.
Check listings, dry/damp ratings, clearance, enclosure and cooling before locating gear near plants or water.
Do not energize unknown secondhand ballasts or mismatch a lamp as a compatibility test. Get the original documentation or have a qualified electrician or lighting professional verify the assembly.
One electrical system. Four distinct jobs.
The ballast does not create light by itself. It supplies and controls power for a compatible discharge lamp; the reflector shapes the beam, while hangers and ventilation influence where the heat goes.
Rated lamp watts are not always wall watts.
Ballasts and associated hardware consume power and release heat. For a useful cost estimate, measure the entire assembled fixture's input under its intended operating mode. A lamp's nominal wattage is not a substitute for measured wall draw.
At an assumed $0.15/kWh, that's $23.76 in fixture electricity over 30 days. This example assumes a hypothetical 440W full-system draw, not a tested product. Fans, air conditioning and other grow-room equipment add separate costs.
Estimate with your actual watts and utility rate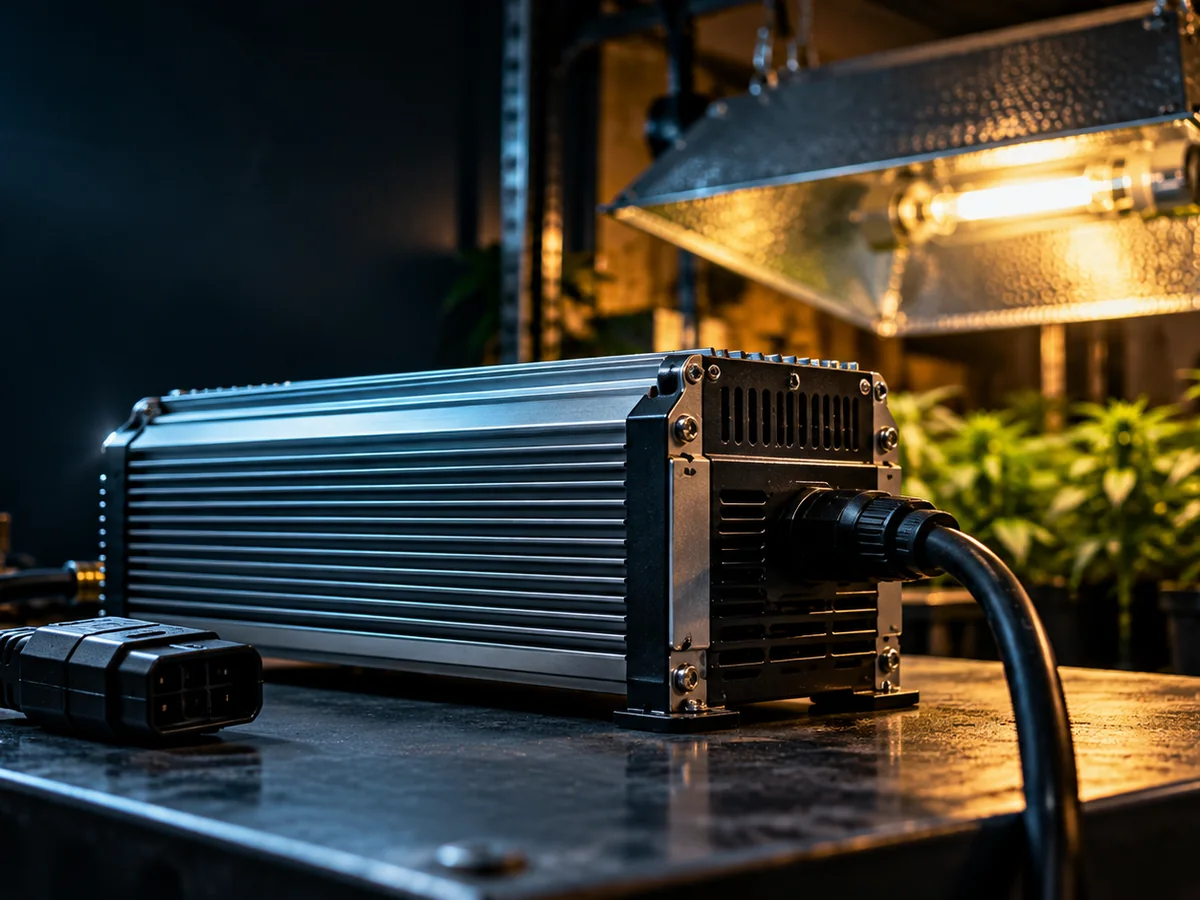
Keep ballast ventilation clear and wiring out of wet zones. Manufacturers specify mounting, minimum spacing and environmental ratings; a hot surface or tripped breaker is a reason to stop using the equipment, not to improvise cooling or bypass protection.
Build the checklist around the label, not the sales pitch.
Confirm lamp + ballast pairing. Match the manufacturer's exact permitted lamp families, wattage and operating modes.
Inspect cords, plugs and connectors. Do not use damaged insulation, loose sockets, unsupported adapters or improvised wiring.
Verify listing and location. Check applicable horticultural-lighting certification, environmental rating and mounting instructions.
Keep moisture away. Position electrical equipment away from irrigation, condensation, wet floors and spill paths.
Allow manufacturer-required cooling clearance. Don't cover vents or place hot components against fabric or combustible material.
Use properly rated switching. Timers and controllers must be approved for the actual inductive/electronic load and installation.
Do not service energized ballast hardware. Internal electrical components can retain hazardous energy. Repairs belong to qualified professionals.
A look at the earlier fixture hardware.
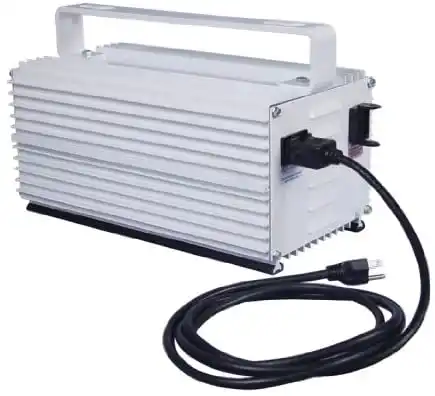
Fixture designs differ substantially. Use the photograph for visual context—not as evidence that an unknown ballast or lamp combination is safe or supported.
Safety references
For applicable equipment and installation requirements, see UL's horticultural lighting safety overview and U.S. DOE's metal-halide fixture reference. These are general standards resources, not model-specific certifications.