
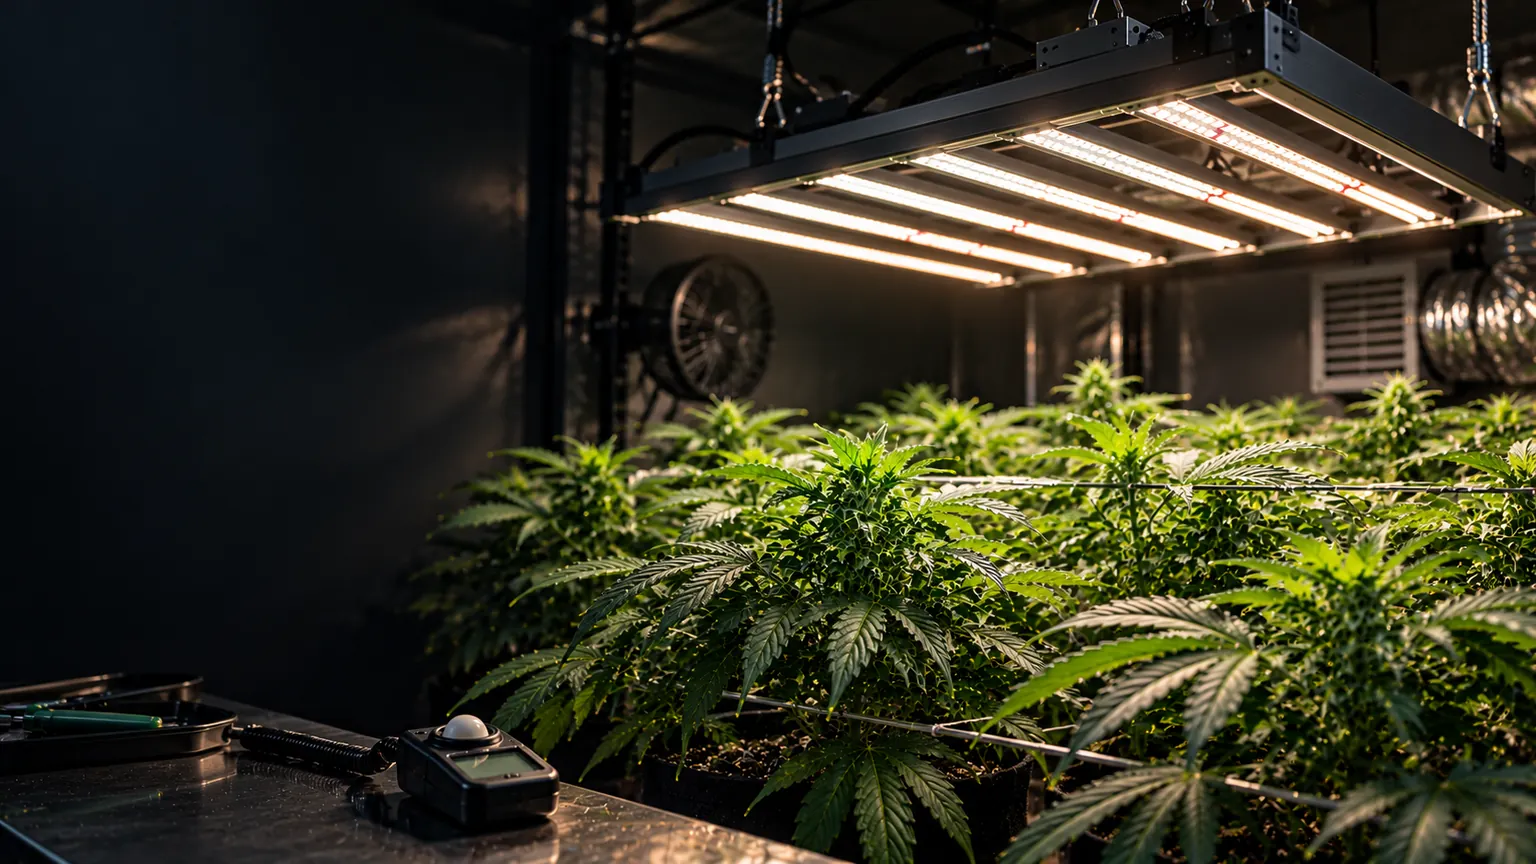
Start with the canopy—not the wattage label.
Weak corners, curling leaves, hot spots and uneven growth can all point toward lighting problems. A useful diagnosis starts with light at leaf level, the room's climate and a consistent timer—not a rule that every fixture must sit as close as possible.
Map light where plants actually receive it
Two fixtures drawing the same number of watts can deliver very different amounts of photosynthetically useful light. Use a fixture's PPFD map at your mounting height—or a suitable quantum sensor—to compare the middle, corners and edges at canopy level. Manufacturer maps are a starting point, not a substitute for observing your actual setup.
What to record
Write down mounting height, light level at the center and four corners, timer hours and canopy temperature. Recheck after raising the fixture or changing its dimmer.
Know the two metrics
PPFD describes usable photon intensity reaching a surface. DLI adds those photons over the full light period. Watts describe electricity consumption, not measured canopy light.
Read the whole plant before moving a fixture
Leaf symptoms alone do not prove a lighting problem. Confirm intensity and temperature, then consider watering, nutrition, humidity and plant genetics before changing several variables at once.
Stretching toward one source
Long internodes and leaning may reflect weak or one-sided exposure. Check light levels across the canopy and compare them with the fixture's documented coverage.Check: center, corners and canopy height.Pale or bleached upper growth
New leaves nearest the fixture may pale under too much light, but similar signs have other causes. Confirm PPFD and avoid sudden changes in lamp intensity.Check: intensity and recent adjustments.Curling, dry leaf edges
Hot leaf surfaces, low humidity or poor air movement can contribute. A hand held below a lamp is not a reliable plant-temperature measurement.Check: leaf and room conditions.Uneven canopy performance
Dense tops may shade the lower growth while fixture edges receive less light. Adjust canopy training or coverage before adding random side lamps.Check: height differences and shadows.Keep the timer predictable
Light duration influences plant development, but a longer day is not automatically a better day. An indoor vegetative schedule may use 18 hours on and 6 off; some growers use longer periods. Continuous light was one approach in earlier indoor rooms, not a universal requirement for faster growth. Flowering photoperiods depend on plant response: a consistent 12-hour uninterrupted dark period is commonly used for photoperiod cannabis.
Check for timer overrides and indicator lights that interrupt darkness. A supposedly green bulb is not a guarantee that a plant will ignore the light. See the full flowering guide for stage-specific decisions.
Keep lighting equipment reliable and safe
- Secure the fixture. Use rated hangers and independent safety retention where specified. Maintain manufacturer clearances as the canopy grows.
- Keep moisture away from electricity. Route cables away from reservoirs and misting areas. Use appropriate protected circuits and follow the fixture's installation requirements.
- Clean only when safe. Isolate electrical power and let HID equipment cool fully before cleaning reflectors or fixtures. Never spray operating electrical equipment.
- Measure instead of guessing. Recheck the canopy after changing fixtures, reflectors, height or dimming. Do not rely on hand temperature or a fixed watts-per-square-foot rule.
- Inspect aging parts. Flickering lamps, damaged wiring, degraded reflectors and failing fans warrant attention. Follow lamp, ballast and fixture instructions for service and disposal.
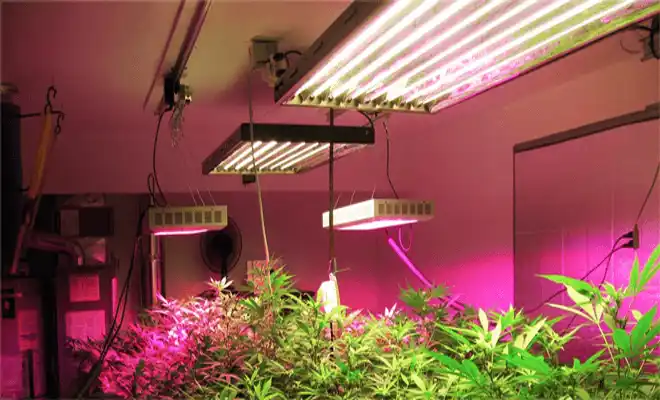
A practical view of indoor lighting
The fixture and plant arrangement shown here is one example of an indoor setup. The important transferable checks are canopy coverage, clearance, cooling and a reliable light schedule—not a claim that one technology always wins.
For installation-specific details, see Indoor Grow Room Design, Indoor Grow Lights and Reflectors and Fittings.