
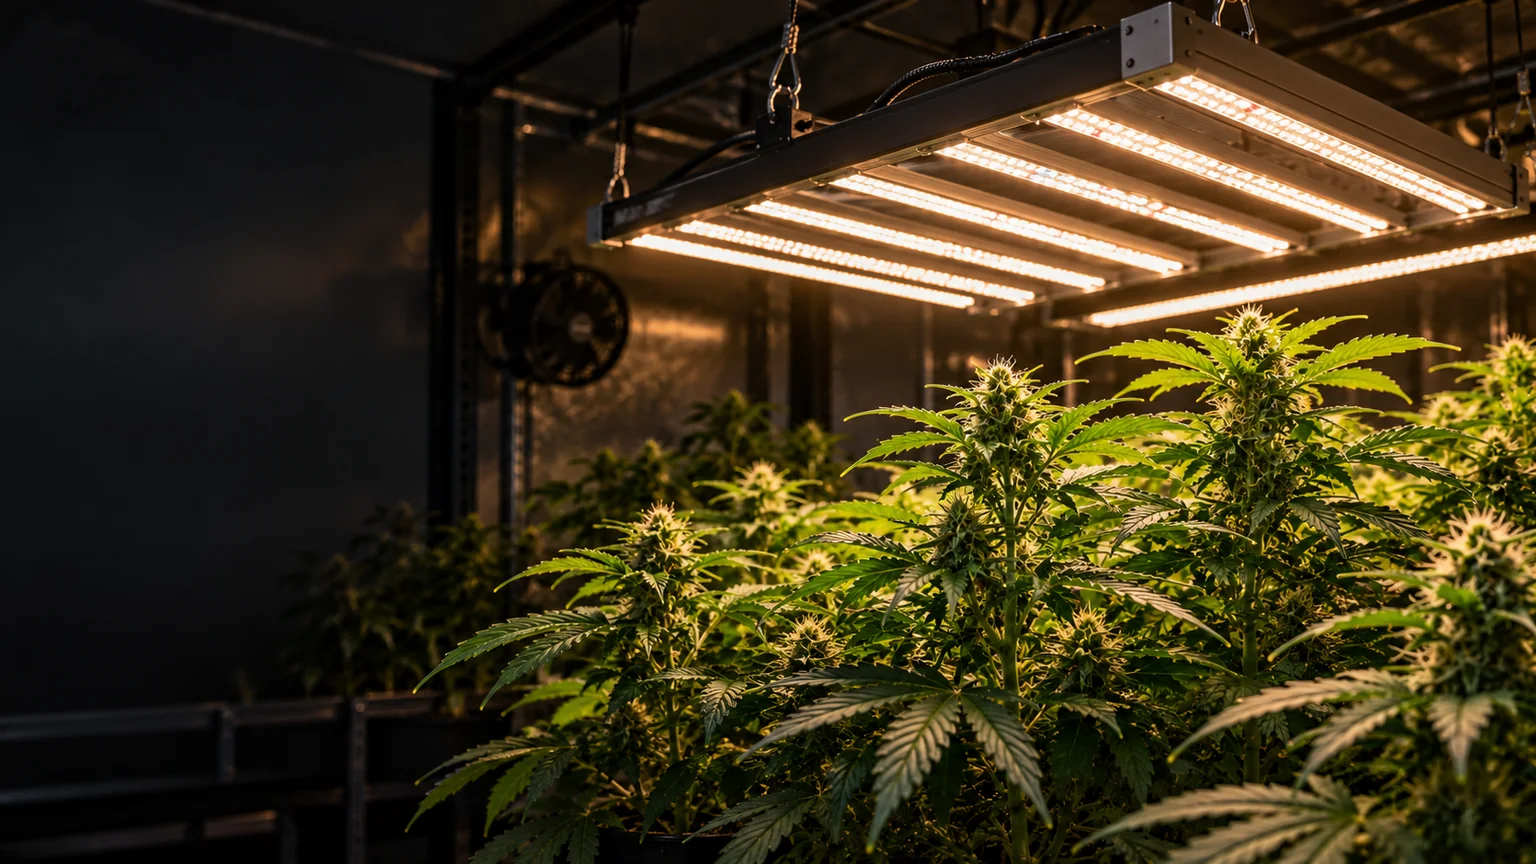
Indoor lighting is a question of delivered photons, even canopy coverage, safe fixture placement and real operating cost—not a universal number of lumens or a hotter lamp hung closer to the leaves.
Size lighting to the actual canopy
Measure the portion of the room occupied by leaves, not the floor area around it. For example, a 4 × 4 ft canopy covers 16 square feet (about 1.49 m²). That number helps you choose a fixture footprint, but it does not determine the correct wattage by itself.
“7,000–10,000 lumens per square foot”
There is no universal cannabis rule at either number. Lumens weight light according to human vision, so they are a poor basis for comparing grow fixtures with different spectra.
A measured PPFD distribution map
Look for center, edge and corner readings at a specified hanging height and footprint. A single high reading directly below the lamp can conceal weak corners.
Use the Grow Room Builder to assemble fixture and canopy dimensions. The broader grow light comparison explains how different technologies stack up; this guide concentrates on fitting the equipment into a room.
Uniform coverage is more useful than a bright hotspot
Two fixtures with similar advertised input power can spread photons very differently. Compare the same measurement height, area and method: peak PPFD is not a substitute for canopy-average PPFD or a map of the edges.
Bright center vs. balanced footprint
When moving or dimming a fixture, check the canopy again. An uneven plant canopy changes the distances between the light and different leaves. Avoid chasing a high center number at the expense of edges or upper-leaf health.
Understand what the specification sheet measures
Photosynthetic photons emitted per second by the whole fixture. An output metric, not a map of light delivered to your specific canopy.
Photosynthetic photons arriving per unit area each second. A canopy-level reading that changes with placement and distance.
Photon efficacy per unit of electrical energy. Helpful when comparing efficient fixtures, but it does not tell you if coverage is uniform.
For illustration, an average PPFD of 300 μmol/m²/s over 16 hours equals 17.28 mol/m²/day. This is a mathematical example, not a universal cannabis target or photoperiod prescription.
Light quantity, light duration and the response to darkness are related but separate. See the vegetative and flowering photoperiod guides for stage context.
Different lamps require different installation decisions
Choose equipment by canopy footprint, heat, serviceability and measured light. The old technology-specific rules are not universal: modern LEDs can serve several growth stages, and a particular HPS or metal-halide lamp does not automatically yield better flowers.
Compare efficacy, hanging-height PPFD maps, dimming, driver placement and fixture footprint. Inspect safety certification and moisture suitability.
Historical HID fixtures can grow plants but require compatible ballasts, reflectors, lamp maintenance, heat clearance and secure mounting.
Older fluorescent setups remain useful illustrations of propagation lighting. A fixture suitable for a shallow tray is not automatically adequate across a mature canopy.
Use the actual spectral output, efficacy and coverage specifications before treating a general-purpose bulb as a horticultural fixture.
Lighting from earlier indoor grows
These photographs show the reflector, tube fixture and HID lamp equipment used in earlier grow-room articles. Their appearance documents the setup, not a ranking of current lighting performance.
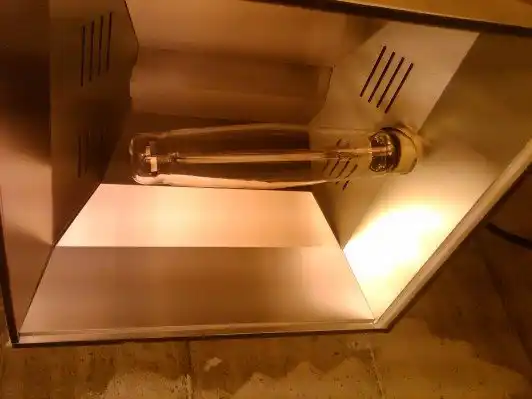
Overhead reflector and discharge lamp hardware.
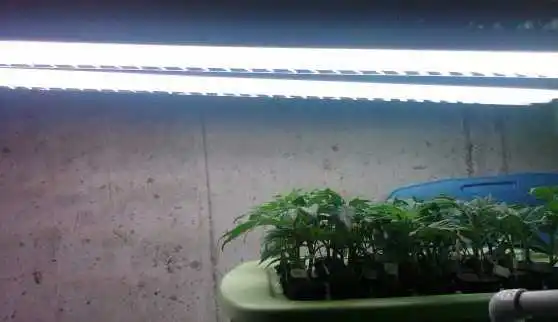
Fluorescent fixture in a smaller growing area.
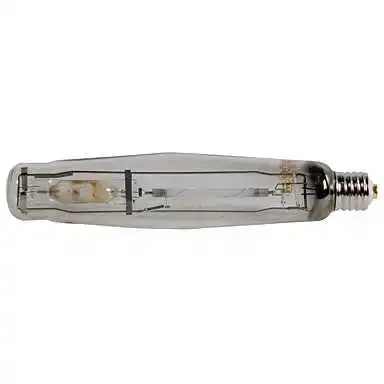
High-intensity discharge lamp reference.
For context, an earlier light article linked to a fluorescent light (paid link). Availability and current suitability require independent verification.

Heat is not the only way a light can damage plants
The traditional hand-under-the-lamp heat test is not an accurate photon measurement, particularly for efficient LEDs. Excess intensity, poor uniformity or unsuitable spectral output may stress plants even when leaves feel cool. Start with the manufacturer's recommended fixture height and dimming range, then evaluate canopy measurements and plant response.
Use rated hangers and secure the actual fixture weight. Keep cords clear of pulleys, fans, sharp edges and hot reflectors.
Use equipment and receptacles appropriate to damp conditions, and follow manufacturer instructions, local electrical codes and applicable GFCI requirements.
Follow minimum fixture-to-surface clearances. HID systems can radiate substantial heat, and LED drivers also dissipate heat.
Do not tape reflective foil directly onto fluorescent tubes, cover ventilation openings or modify wiring and luminaires. Use purpose-built reflectors and approved hardware.
Before switching a new light on
- 1
Measure canopy dimensions. Record the actual plant footprint and available fixture clearance.
- 2
Read the PPFD map. Check published center, edge and corner data at the same planned fixture height.
- 3
Verify electrical load. Compare true input watts, circuit and timer ratings, ventilation and mounting.
- 4
Recheck as plants grow. Adjust placement or dimming using actual measurements, not only leaf temperature or a wattage label.
Keep building a better indoor setup
University of Missouri Extension: Understanding Grow Lights explains PAR, PPFD, DLI and light distribution. OSHA: Flexible cords and moisture hazards and OSHA: Lighting fixture installation requirements explain relevant electrical risks; follow the rules applicable to your actual installation.