
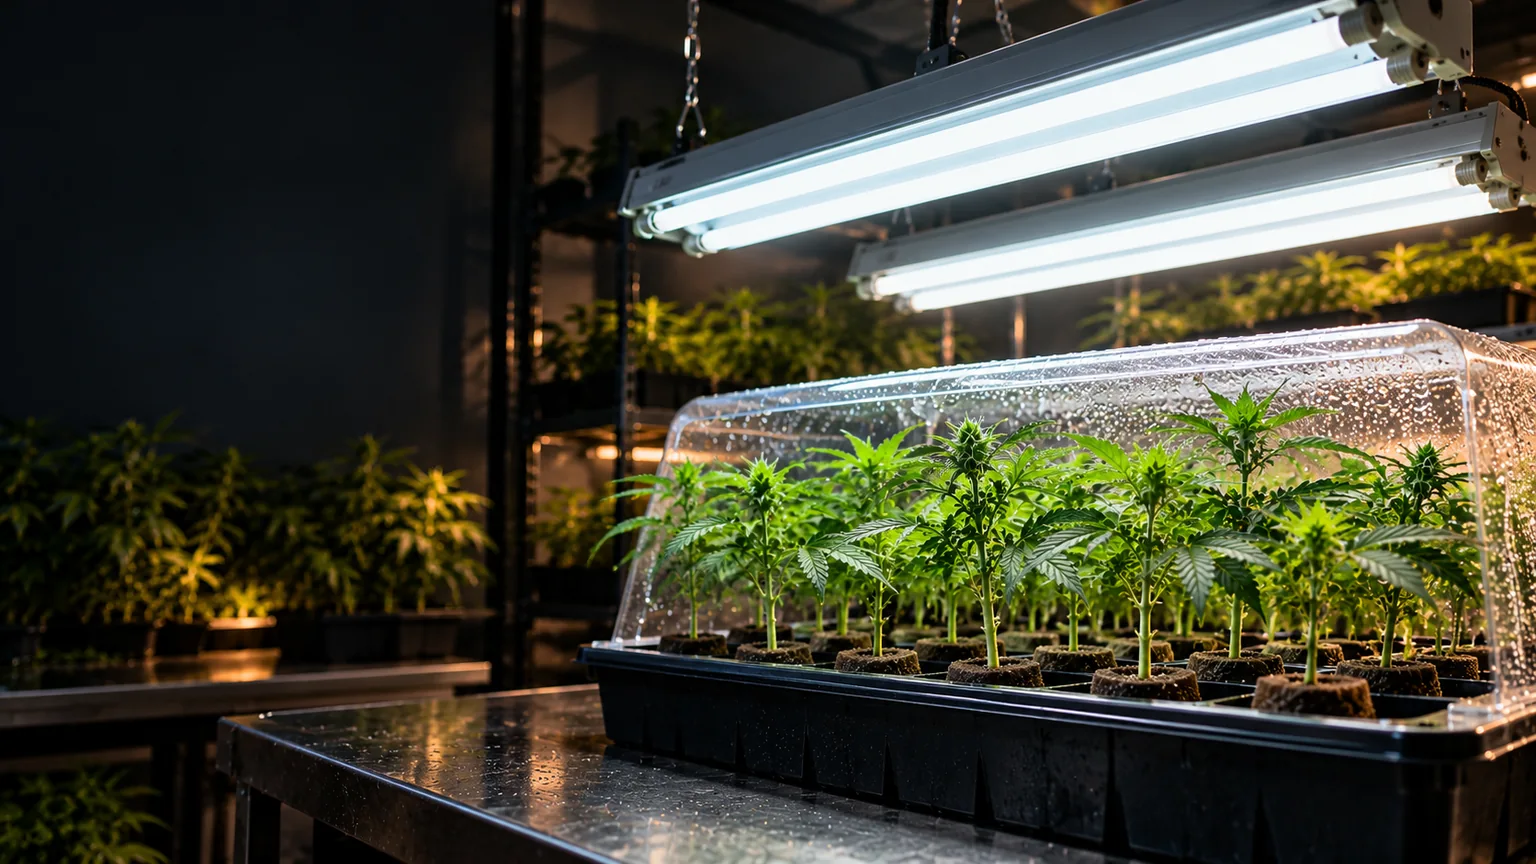
When fluorescent grow lights still make sense
A fluorescent fixture can support young cuttings and seedlings when its light reaches the entire tray at useful intensity. The right choice depends on measured canopy light, shelf geometry, fixture condition and ongoing energy costs—not a particular tube brand or an assumed number of plants.
Clones, seedlings and mother plants need different light
Unrooted cuttings are trying to limit water loss while new roots form. Very intense light can increase demand on leaves before roots can replace that water. Fluorescents remain an option for low-profile propagation shelves because tubes distribute modest light over a long, narrow area; they are not required for successful cloning.
Fresh cuttings
Favor gentle, even illumination, appropriate humidity and good airflow. Track wilting and leaf condition rather than chasing flowering-level light intensity. Keep the cover and electrical fixture physically separated.
Rooted seedlings and clones
As new roots and leaves develop, increase light gradually based on growth and measured intensity. A fluorescent tube may still work for a shallow tray, but fixture distance and tube age matter.
Vegetative mother plants
Fluorescent light is not categorically inadequate for a mother plant. It can support a small maintained canopy if output and coverage are sufficient, though a larger vigorous mother may benefit from a more efficient, higher-output fixture. See mother plant maintenance.
Flowering canopies
Long fluorescent fixtures are usually less practical for delivering ample, even light to large deep canopies than purpose-built modern LEDs. Compare actual fixture performance instead of buying based on fluorescent-versus-LED labels alone.
Cover the whole propagation tray, not just the center
Two lamps over a tray are not automatically enough for 20, 50 or 100 clones. The distance to leaves, reflector shape, tube count, canopy size and remaining lamp output all influence the result. Look for a fixture's measured PPFD distribution, or use an appropriate quantum sensor to compare multiple points at canopy height.
Why light at the corners matters
Use the weakest tray areas to identify placement changes. Raising a fixture may improve uniformity while reducing intensity; lowering it can strengthen the center and leave the edges underlit. Neither adjustment should be made without considering leaf temperature, humidity and the manufacturer's clearance guidance.
Choose the complete fixture—not only a tube label
T5 versus T8
These describe tube diameters and compatible fixture systems, not an automatic ranking of plant performance. Compare actual output, useful service life, reflector and ballast compatibility.
Color and spectrum
White fluorescent lamps can be suitable for propagation. Kelvin ratings describe visual color appearance; they do not by themselves quantify photosynthetic photon delivery to a plant canopy.
Lamp condition
Output changes with age, temperature and fixture condition. Replace a lamp when damaged, flickering, near its manufacturer's rated service limit or when measured output no longer meets the application—not on a universal annual schedule.
Fluorescent versus LED
If replacing a fixture, compare horticultural fixture efficacy (µmol/J), measured PPFD uniformity, dimming range, capital cost and operating hours. Our LED Grow Lights guide handles those comparisons.
Many fluorescent tubes contain mercury. Do not break or discard them as ordinary trash where local rules require special recycling. Switch off power before servicing fixtures, keep plugs and ballasts out of wet areas, and follow local electrical code and manufacturer installation instructions.
Four checks before turning on the fixture
- Map the tray. Record tray dimensions and lamp footprint before selecting a tube length and fixture count.
- Check electrical clearance. Secure rated hangers, route cords with drip loops where appropriate and keep the fixture separate from misting or standing water.
- Measure at plant height. Compare the middle, edges and corners with an appropriate light sensor; monitor leaf response as roots develop.
- Recheck as plants grow. New foliage changes canopy height and shading; adjust fixture height, spacing or the fixture type rather than assuming one setup fits every stage.
A stable photoperiod for vegetative growth often uses an 18-hour light period and 6-hour dark period. Some propagation rooms run longer; continuous 24-hour light is not universally necessary. Timers, electricity costs and environmental conditions matter. Use the Grow Light Electricity Cost Calculator and Grow Room Builder to plan load and room constraints.
One fluorescent shop-light setup
An earlier Weed Scene clone room used two four-foot fluorescent shop fixtures with two tubes each, operated on a 24-hour schedule, with SunAgro or Agrosun bulbs. That describes the equipment the grower used at the time; it is not proof of a standard plant capacity, ideal daily photoperiod or fixed one-year replacement interval.
The original photograph is retained here alongside those firsthand observations. For maintaining source plants and rooting cuttings, see Mother Plants and Cloning Marijuana Mother Plants.
