
Vegetative Week 1
Rooted cannabis clones adjusting to a vegetative grow system: learn how to evaluate new growth, roots, light response and measured feeding as plants establish.
VEGETATIVE WEEK 1 / FIELD NOTES
From rooted cutting to steady new growth
A rooted cutting is entering a new environment. The first useful signs are stable leaf posture, a healthy growing tip and new growth as the roots settle into the system.
- 01Roots
Allow cuttings to establish after transfer.
- 02Light
Watch plant response when changing intensity.
- 03Water
Balance moisture with oxygen around roots.
- 04Feed
Introduce nutrition carefully; observe before increasing.
IN THIS GROW
The Week 1 grow journal
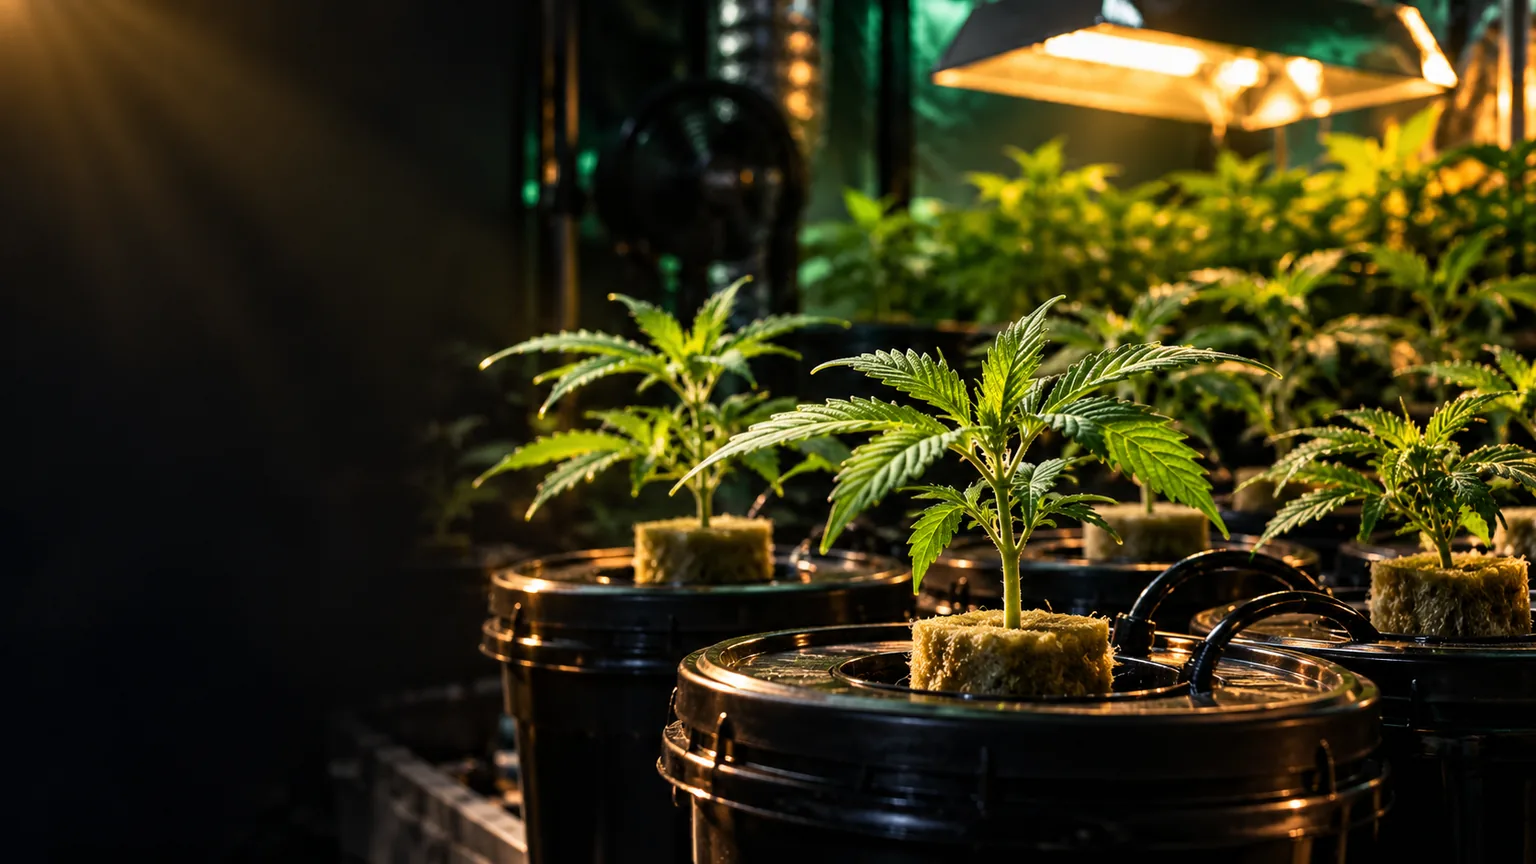
After rooting, these plants moved into a vegetative grow system under metal-halide lights. The key early signs to watch are leaf posture, steady new growth and roots settling into the new medium.

GROW JOURNAL
Once the marijuana clone had rooted, it moved into the vegetative grow system and began receiving nutrients for this stage. During this grow, the plants received 24 hours of Metal Halide Light each day. An 18-hour light and 6-hour dark schedule is also commonly used for vegetative growth; the grow-stage reference below uses that schedule.
Help roots settle before pushing growth
The roots need water and oxygen at the same time. After moving a cutting, keep the growing medium appropriately moist and well drained rather than repeatedly soaking it. The right irrigation rhythm depends on medium, container, airflow and root development. Look for a firm stem, leaves that regain normal posture and new growth at the tip.
Lighting: read the plant, not just the clock
This grow used metal-halide lighting around the clock. An 18-hour light and 6-hour dark cycle is a common vegetative schedule, but neither tells you the actual light reaching the canopy. Adjust intensity and fixture height using the lamp’s guidance and the plants’ response. Bleaching or curled upper leaves can indicate excessive light or heat; stretching can indicate inadequate light.
Start nutrition cautiously
New cuttings may take time to use additional nutrients. Work from the growing medium’s existing charge, water quality and measured root-zone conditions rather than treating a generic chart as a required dose. The FoxFarm instrument panel later on this page is a reference, with a separate calculator for scaling its labeled quantities.
View this week's feeding referenceVegetative week 1
A field-friendly reference that pairs this stage with the current FoxFarm soil schedule. Scale the recipe to your actual watering volume with the calculator instead of doing the math in the grow room.
Schedule values are a reference to the current FoxFarm soil chart, not a universal prescription for every cultivar, medium or environment.
OBSERVATION CHECKLIST
What to watch during the first week
New growth
Fresh leaves opening at the shoot tip are a stronger sign of progress than judging the original leaves alone.
Leaf posture
Compare leaves at the same time of day; a persistent slump warrants a root-zone and environment check.
Water balance
An overly wet medium can limit root oxygen, while prolonged drying interrupts uptake.
Light adjustment
When a fixture or light cycle changes, adjust gradually and monitor the upper canopy.
NEXT STAGE
Before you move on to Week 2
Use plant condition and your growing system as the guide rather than treating a week number as a deadline.
- New foliage is forming without persistent drooping or scorching.
- The irrigation routine allows the medium to reoxygenate.
- Light and temperature are stable enough to compare daily changes.
- Any added fertilizer is based on observed response, not an assumed universal weekly dose.
Growing references: University of Saskatchewan — Vegetative Growth and Indoor Lighting.