
STARTING FROM SEED / METHOD COMPARISON
Three routes to the first root.
Every viable seed needs moisture, oxygen and a suitable temperature to begin growing. The practical difference between methods is where the seed absorbs that moisture and whether you need to handle a newly exposed root. Choose the setup you can monitor reliably, not the one promising an exact germination day.
Directly into growing medium
A practical default when you already have a clean, free-draining starter mix or rooting plug ready.
- Moisten a small starter container or plug evenly, then let excess water drain.
- Make a shallow planting hole appropriate for the seed size and cover it lightly with medium.
- Keep the medium consistently moist and comfortably warm, with air exchange rather than a sealed, overheated container.
- When the shoot emerges, give it suitable gentle light and remove any humidity covering.
Why choose it? The root develops where it will continue growing; no delicate transfer from a towel is needed.
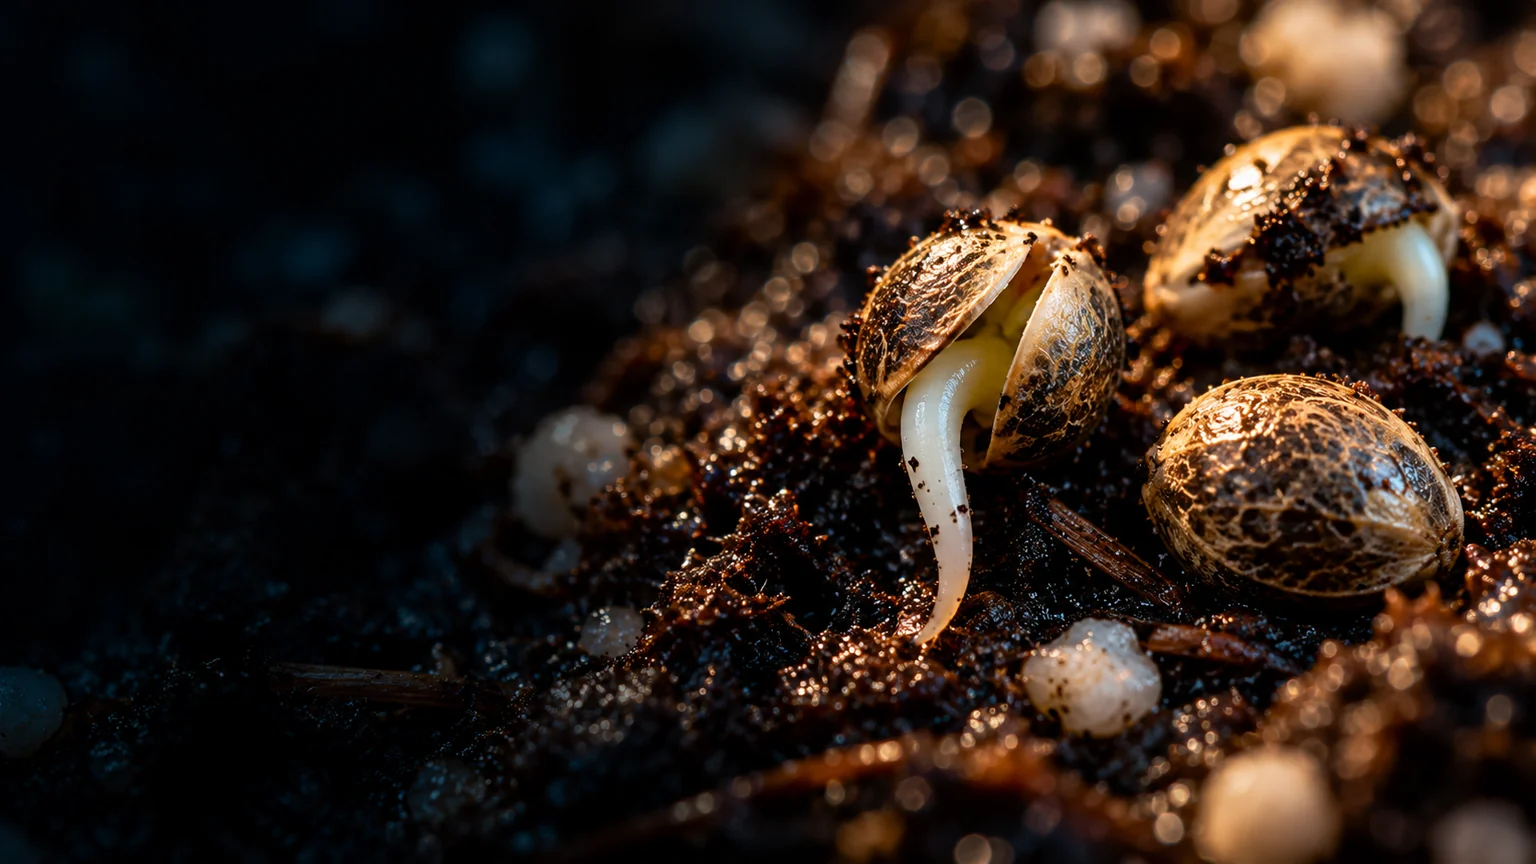
Seed, root and shoot develop within the same starter medium.
Moist paper towel
Useful when you want to see whether a seed has produced a root before transferring it to medium.
- Moisten a clean, plain paper towel and squeeze out excess water. It should be damp, not dripping.
- Set the seed between layers in a clean container that retains moisture without becoming stagnant.
- Check moisture and cleanliness regularly. Do not let the towel dry out or grow mold.
- When a short white root appears, move the seed gently into pre-moistened growing medium. Handle the seed coat rather than the root.
Trade-off: You can inspect root emergence, but the delicate root is exposed during transfer and can snag on towel fibers.
SEE THE TECHNIQUE
Paper towel germination demonstration
A video walkthrough of placing seeds in a damp towel and checking for root development.
Brief water pre-soak
An optional first step for hydrating seeds before sowing or using a towel—not a week-long substitute for oxygenated growing medium.
- Use a clean container and room-temperature water. Avoid hot water or additives.
- Allow the seed to take up moisture for a limited period; inspect it rather than leaving it submerged for days.
- Transfer to lightly moist, aerated medium or a towel to finish germination.
- Do not use whether a seed sinks or floats as a reliable viability test.
Trade-off: Soaking adds a handling step. Prolonged submersion increases the chance of oxygen deprivation and decay.
What to check when nothing sprouts.
Check drainage and airflow. A soaked medium can deprive the seed of oxygen and encourage decay.
Once a seed takes up water, repeated drying can damage developing tissue. Check beneath the surface, not only the top.
Measure the medium temperature, not just room air. Move the tray away from hot fixtures or cold windows.
Give emerged seedlings light and some airflow, and remove a covering promptly. A collapsing stem may indicate damping-off disease.
FROM ROOT TO FIRST LEAVES
What happens after germination?
A pale root appears first. The shoot then lifts its first pair of smooth seed leaves (cotyledons) through the surface. Keep the seedling in a suitable light environment, avoid overwatering, and wait for a stable root system before moving it to a larger container.
See the seedling growth guide for light, moisture, first true leaves and transplant readiness.
Further reading
For seed-starting conditions and avoiding damp, oxygen-starved media, see Iowa State University Extension, University of Minnesota Extension and University of California IPM. Environmental ranges differ by crop, cultivar and equipment.